
More and more Intune features are being supported into Cloud PCs.
Last one announced was Endpoint Privilege Management (EPM) at this time but you manage Cloud PC with Intune quite deeply : Apps, Configurations, Updates, Autopatch, Compliance, Defender. Copilot was also announced to be working with the OS on Cloud PCs.
Oh and the development is also interesting with dedicated features now GA : Switch and Boot.
As an end-user, it only needs an internet connection to access to its managed Cloud PC. Managed apps are installed, Cloud PC is secured and compliances rules are applied with CA rules behind.
Great for external worker or frontliners with only an internet connection and a personal PC or even a light corporate one.
You can access to your desktop, apps, settings and content from anywhere.
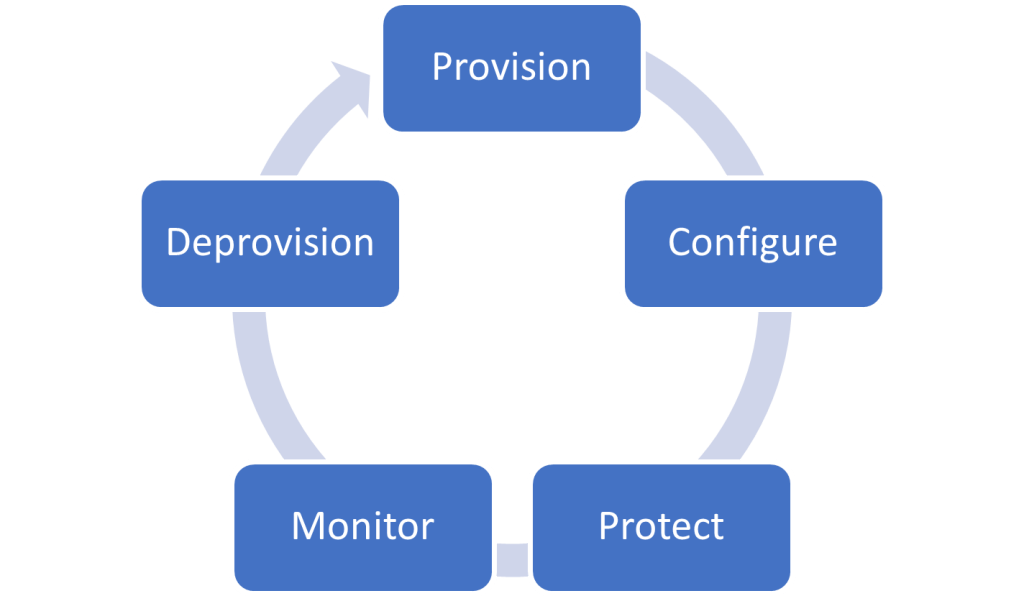
In this post, we’ll go through the Provisionning step and enrollment :
Pre-Requisites
A Windows 365 license and Provisioning policy assigned.
Also, a M365 E3 / E5 is needed so the device is enrolled into Intune.
Buy and assign license
Go to admin.microsoft.com and go to Market Place to buy your Windows 365 license.
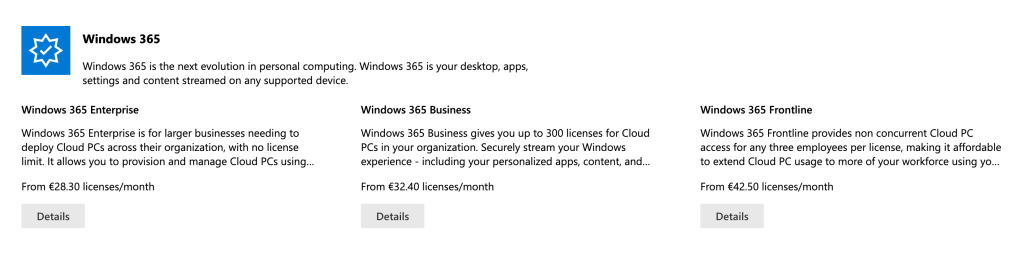
W365 Enterprise and Business are regular Cloud PC for an individual usage.
W365 Frontline licence is used for workers working at different hours (shifts). One license is more expensive than one individual license because you can actualy use 1 Windows 365 Frontline license for 3 Cloud PCs.
Meaning : You buy 10 Frontline licenses, you have until 30 Cloud PCs provisionned but only 10 of them can be used at the same time. As soon as a user disconnects, it frees a license which can be used by another user.
Depends on your usecase. Using frontline licenses, you might buy less licences than if you would go with individual ones.
Once you picked a license type, you decide what kind of cloud pc you want for your endusers. Again, depends on your usecases, light or the most powerfull Cloud PC ever :

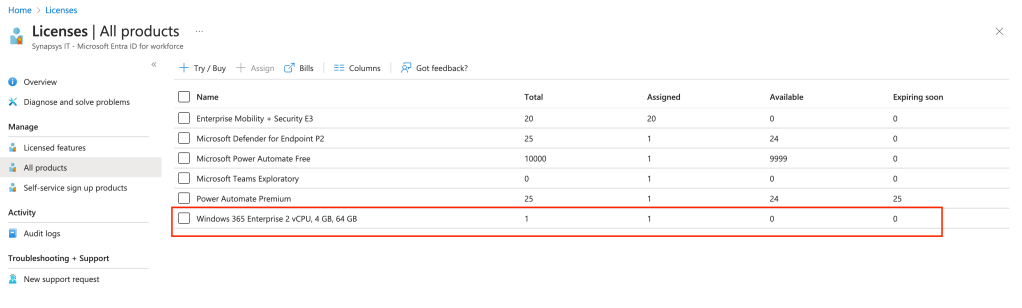
Bought your license ? Now assign the licence to user or user group :

Provisioning Profile
License asssigned : check.
Now we’re going to set the enrollment profile in Intune which will provision the Cloud PCs for the users.
Go to Intune : aka.ms/in
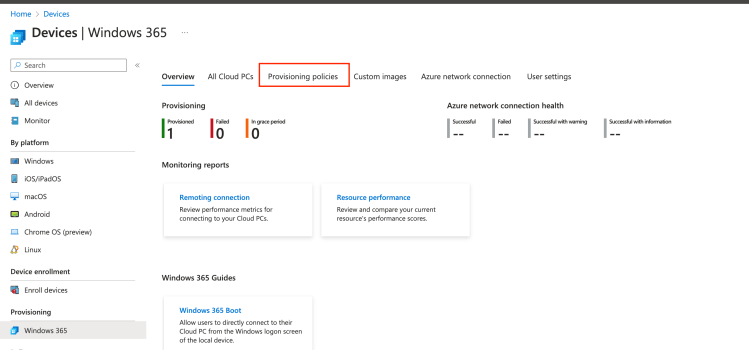
Create your Provision profile. We will use the this enrollment profile name to gather later on the Cloud PCs into dynamic device groups.
If you want to delegate Cloud PCs in medium/large organizations, thinking about splitting the devices into multiple Provision profiles (countries, BU, cities, frontliners) is something interesting.
Need only one so :

I do Entra Join cause it makes more sense in my opinion in CloudPCs usecases, but Hybrid scenario is also supported. Also, you can leverage ANC (bring your own network kind) so Cloud PCs are creating in your organization.
More info here about architecture types with Cloud PCs.
So i pick Entra Join and MS hosted Network for provisionning.
SSO configured in the provisonning profile is also a great feature becase you only have to login once into the Windows 365 client on Windows 11 2022-09 and Windows 10 21H2 (and later). No need to login again in the CloudPC session host credentials prompt.
No SSO experience :

With SSO, you do not have this prompt as you’re already logged into Windows 365. Great feature ! (you have to re-provision your device to get SSO on existing cloud PC, as it is a setting in the provision profile)
SSO is only supported for Entra ID Joined Cloud PCs and compatible with third-party IDP.
Next step the image. Use a custom one or one from MS Image gallery. Love this step !

Then, configuration. Settings and Name Template. Oh and the integration with Autopatch is quite easy directly from the provision profile :

Assignments then. Assign the provision profile to your endusers group. Again, if you want to delegate, i suggest you to have a delegation model for your provisionning profile. Your dynamic group membership rules will depend on it.
Only the user having a Windows 365 license will have a Cloud PC Provisionned.
Get your coffee, it’s provisioning time
As soon as you have added your user to the provisioning group, end-user will have to wait about 30 minutes so the device is provisioned and ready.

About 30 (18 actually) minutes later :

Provisioning : Check
Login
Enduser uses either windows 365 client (found on Microsoft Store) or URL directly : windows365.microsoft.com
You leverage enrollment status Page (ESP) and you wonder if you can use it onto your Cloud PCs. Short answer, yes you can, it works fine !
Consider targetting the ESP on “virtual group” : All devices as dynamic group membership can take some time to get the devices. See here
I’m using the Windows 365 client, login with my user0 account and look who’s here ?

It means my device has been correctly provisioned for my user.

Oh and ESP comes right after :

Enduser is now on his Windows 11 session from anywhere.

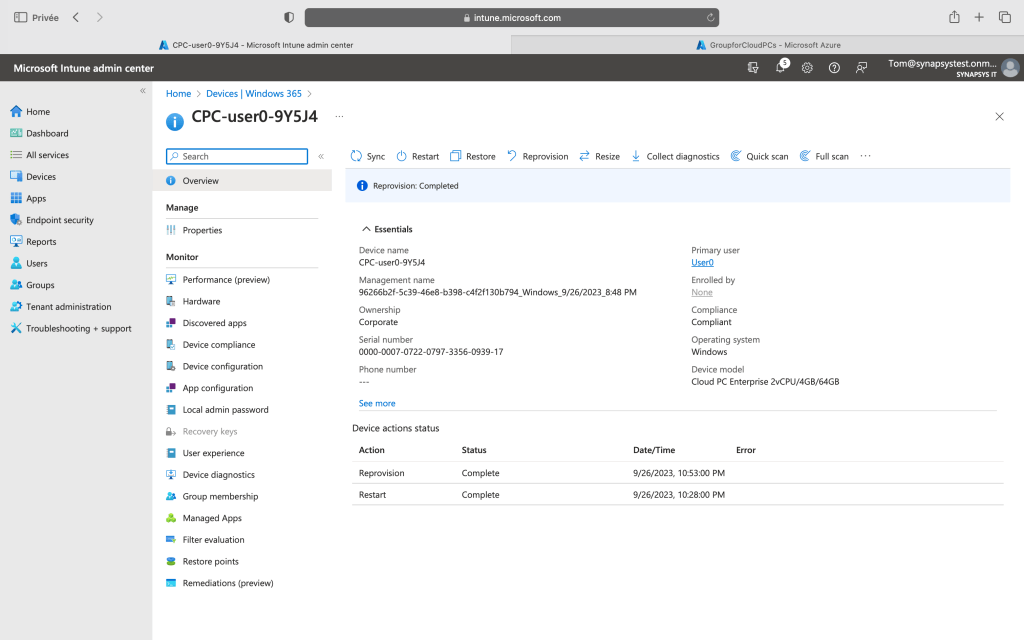
Have a look on Intune : Device is enrolled

Let’s create a dynamic device group so you can gather your cloud pcs in devices groups. Remember the provision profile name ? Use it in your dynamic group rule ! Imagine a delegation model based on these dynamic devices groups.


This post was the first step to provision your Cloud PC. An entire world is now yours !
We’ll go through Switch and Boot, both great features, in another coming post 😉
Cheers !

One thought on “First journey into Windows 365 : Provisioning and Deployment”